The Steps to Unpack and Install a TPMS Kit
Installing a TPMS kit for the first time might seem challenging, but Promata kits are ready to use straight out of the box. This guide will help you set up your system easily to monitor tyre pressure, enhance safety, save fuel, and extend tyre life.
Step 1: Unpack the Kit
Carefully open your TPMS package. It should include:
- A display unit
- External or internal sensors
- Security lock nuts (for external sensors)
- A user manual
Check all components for damage. Contact the seller if anything is missing or defective.
Step 2: Read the Manual
Even if it seems unnecessary, reading the manual will save time and prevent errors. It includes model-specific instructions for operation, sensor pairing, and troubleshooting.
Step 3: Check Display Battery
Turn on the display to check the battery. If low, charge it fully using the cable or solar panel (if applicable). A full charge ensures continuous monitoring.
Step 4: Set Pressure Thresholds
Find your vehicle’s recommended tyre pressure (check car's manual). Set high/low pressure alerts in the display settings. For daily driving, use ±10 PSI from the recommended cold pressure. For off-roading, set a wider range (e.g., 12–55 PSI).
Step 5: Install Sensors
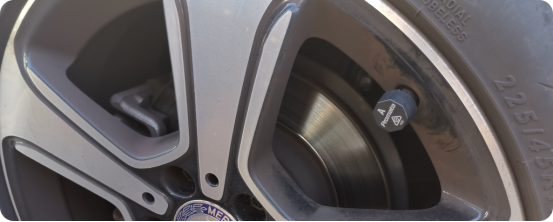
External sensors: Screw them onto the valve stems after removing the original caps. Use security nuts to prevent theft.
Internal sensors: These require professional installation at a tyre shop for better durability and theft protection.
Step 6: Verify Sensor Detection
Turn on the display to confirm that all sensors are detected and showing pressure readings. If not, ensure they are properly tightened.